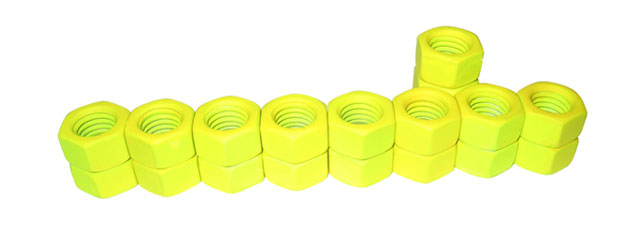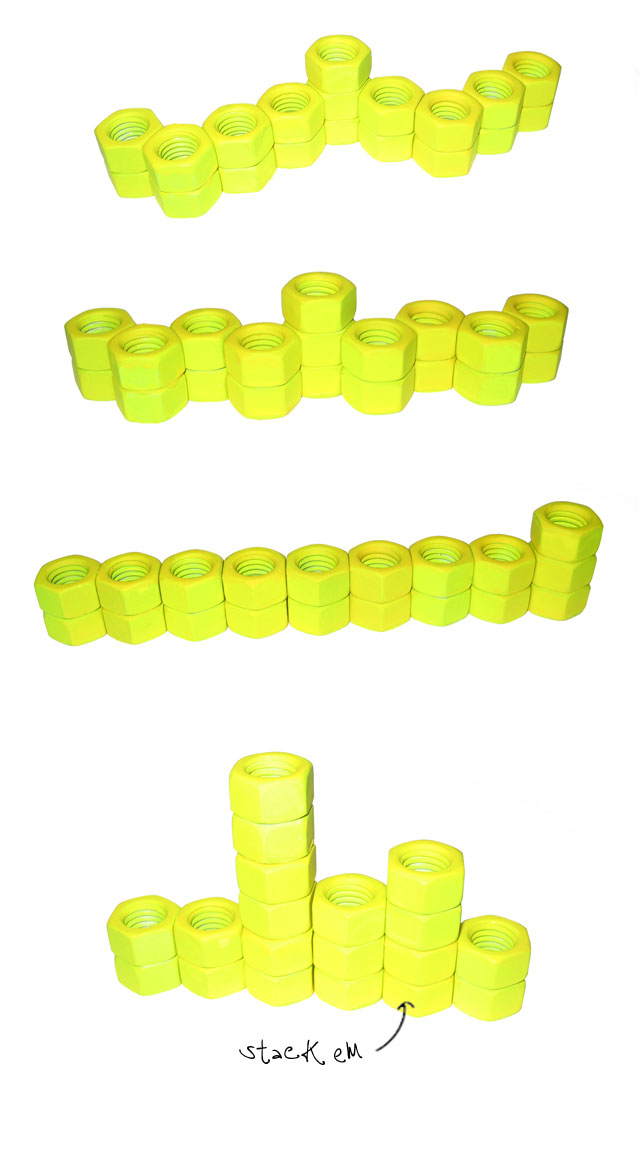

 Since my bohmerian self is nomadic by nature, I created this easy to make traveling Hanukkah menorah by super-gluing pairs of 1/2″ hex nuts, and coating them with both a layer of Krylon white primer, and a few light layers of Rust-Oleum fluorescent paint.
BTW: Most 1/2″ beeswax Hanukkah candles should fit the 1/2″ nuts perfectly. If you try making these as crafts with your children, then use 3/8″ hex nuts which would better fit the traditional, children’s assorted candles which you should easily find seasonally stacked at you local market or hardware store.
NOTE: To evenly paint the glued nuts and prevent drip marks; suspend them from a string outdoors, spray one even layer of primer and 3-4 light layers of your preferred color. I would suggest wearing a mask or towel around your mouth while doing so.
___
If you haven’t already; feel free to follow me on: Facebook – Twitter – Bloglovin

Clever! Happy Hanukkah!!
Love that blog!
Already following u in twitter! follow back?
XXX
this is such a charming and brilliant idea; perfect for us young and reckless trying to make it in the world, traveling and exploring all the while.
wow, what a charming and brilliant idea, perfect for us young and reckless trying to make it in this world, traveling and exploring all the while!
this is beautiful and genius.
you have a beautiful blog
Pingback: Happy Hanukkah! | The Bohmerian